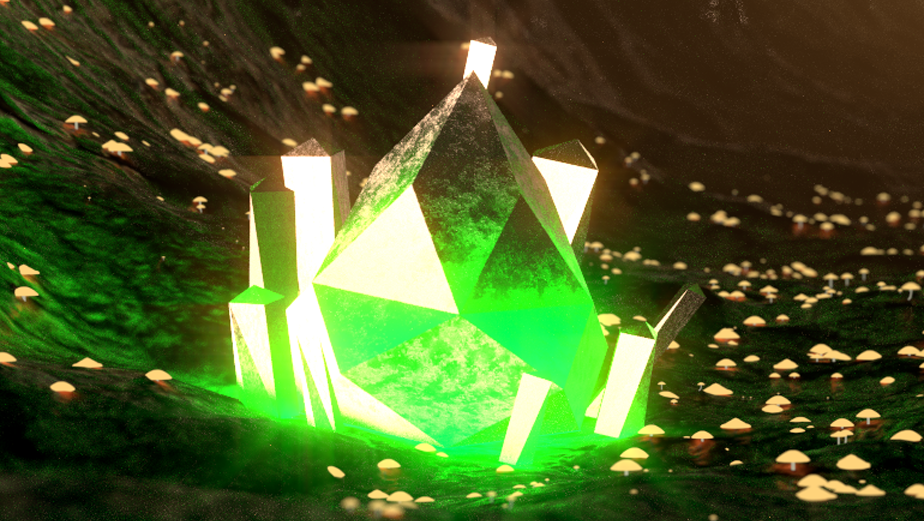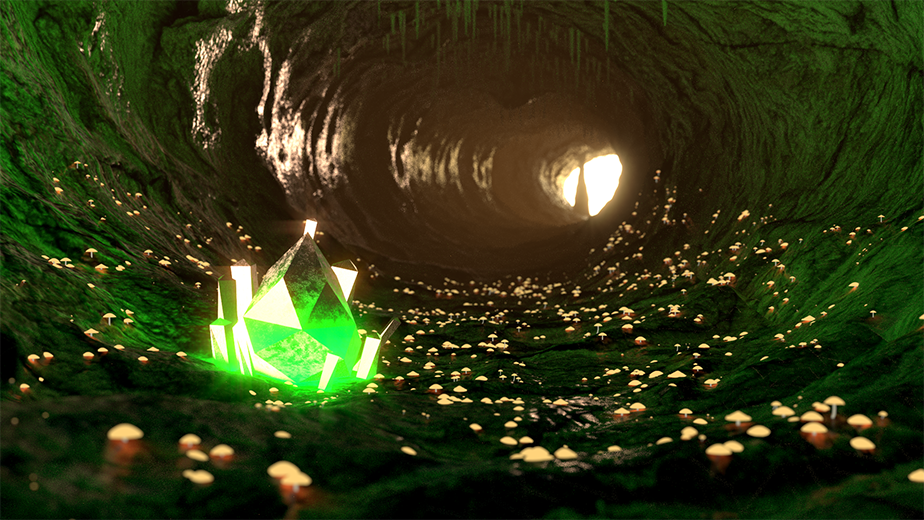

For this render I added a focal distance to the camera so it focuses on the gems and the distance starts to blur out.
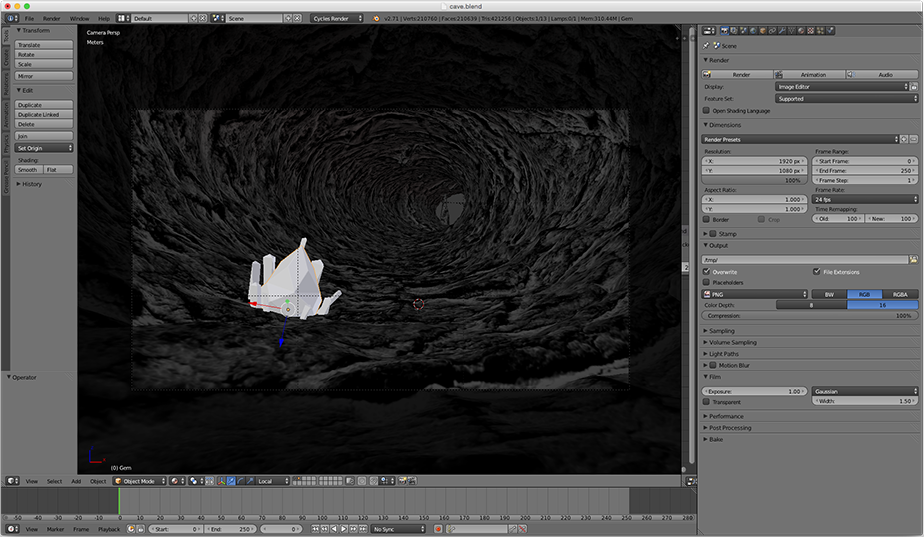
Once I was happy with how the modelling looked and the placement of the gems it was time to add in the extra details.
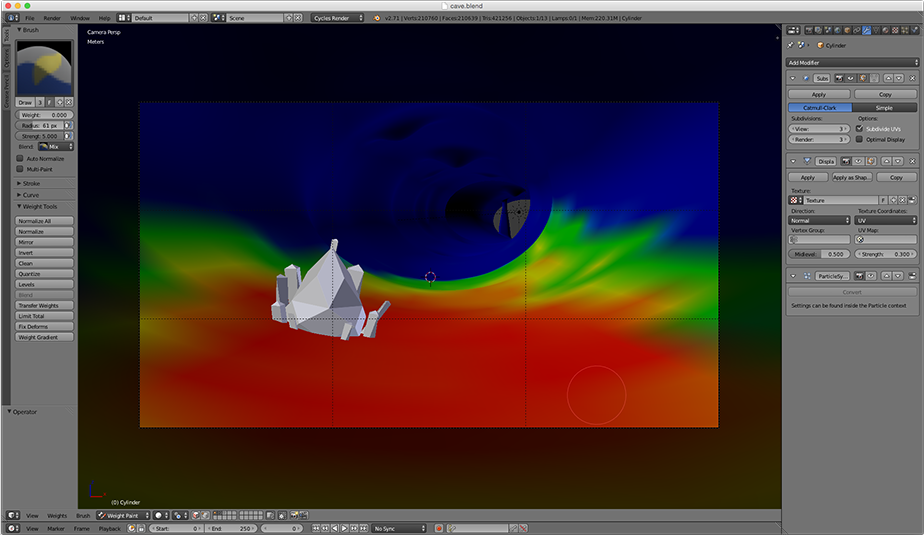
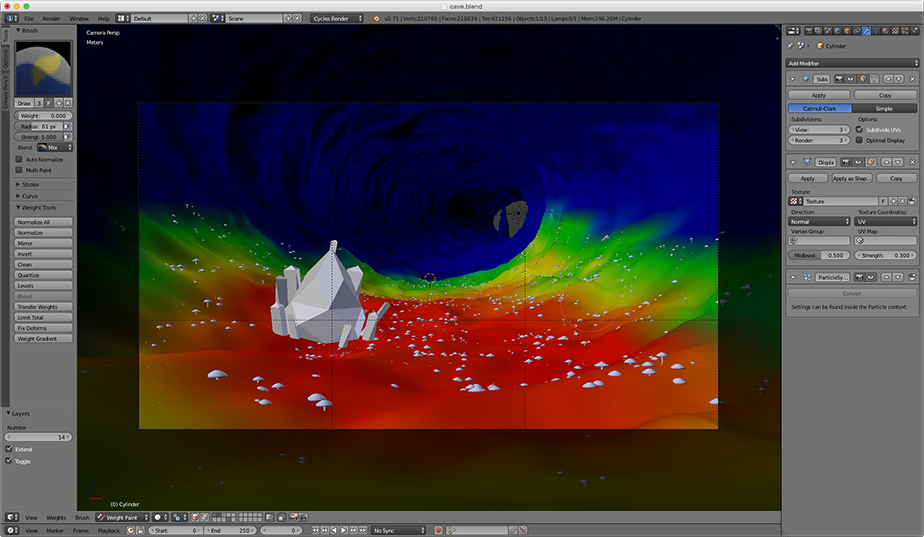
Below you can see a couple of screenshots showing the painting of where the mushrooms will be placed.
Red is where a large group will be, green is where it gets more sporadic and light.
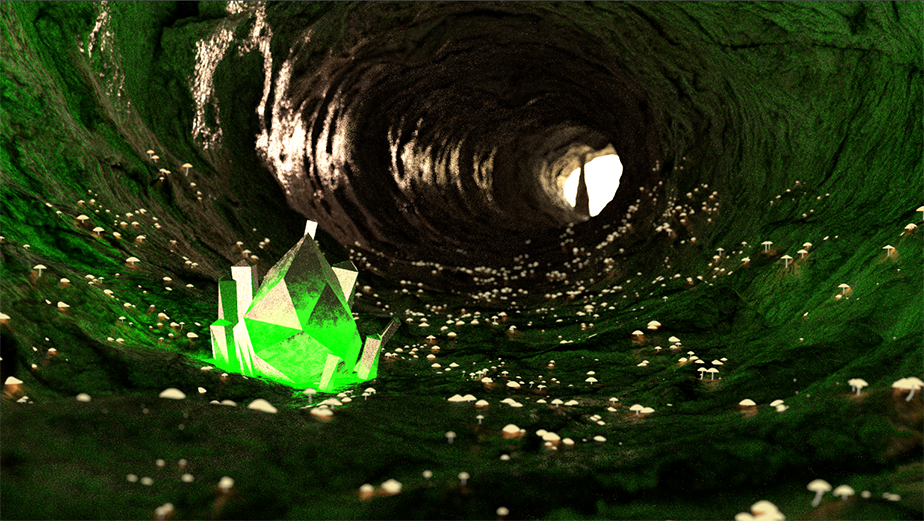
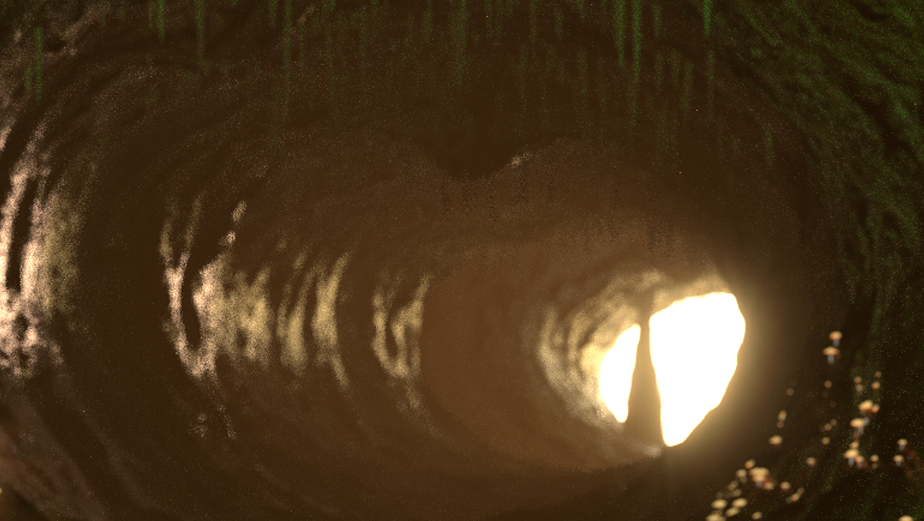
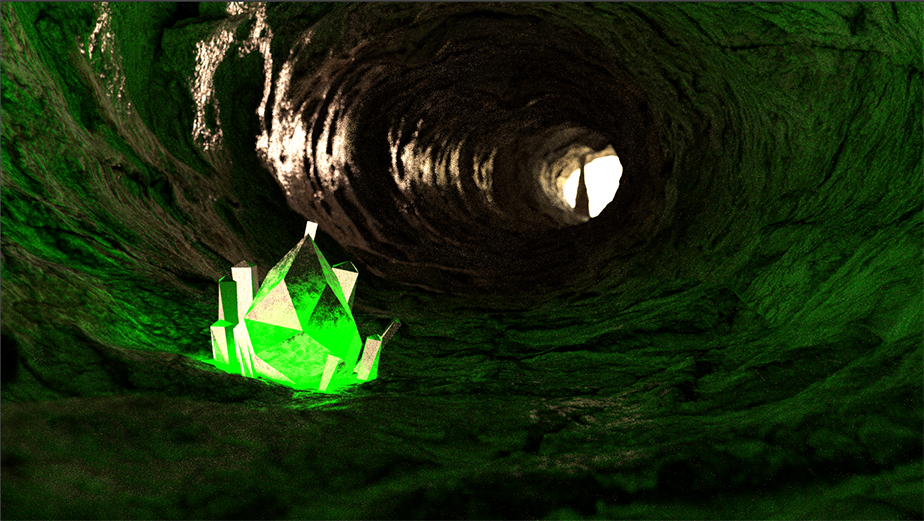
This next stage I added in some stalagmites onto the roof towards the entrance of the cave.
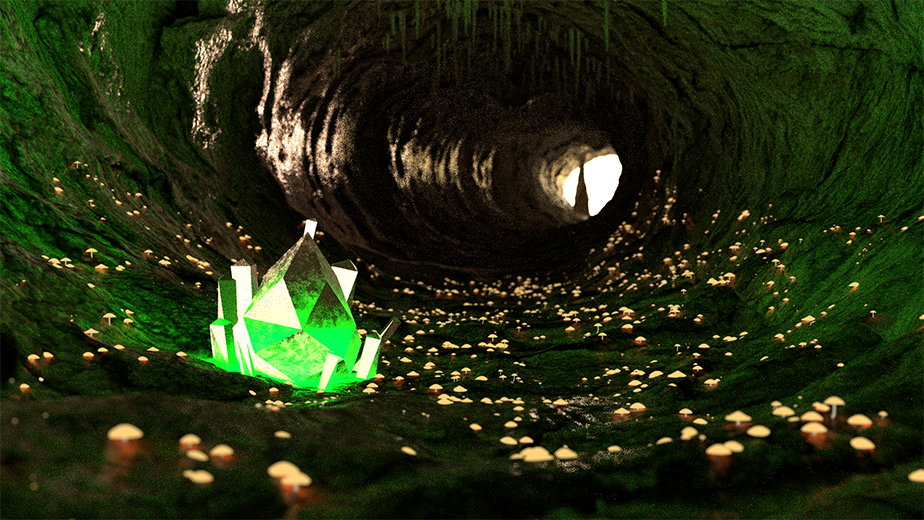
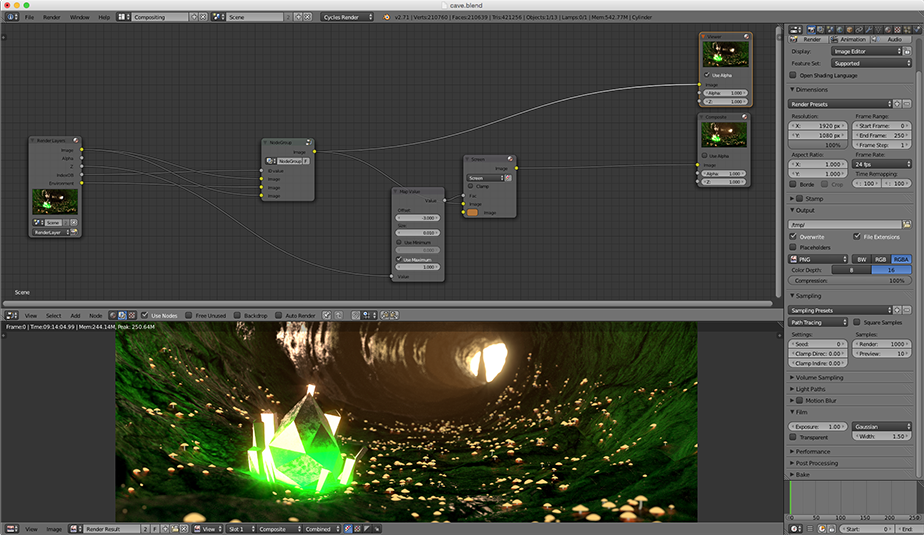
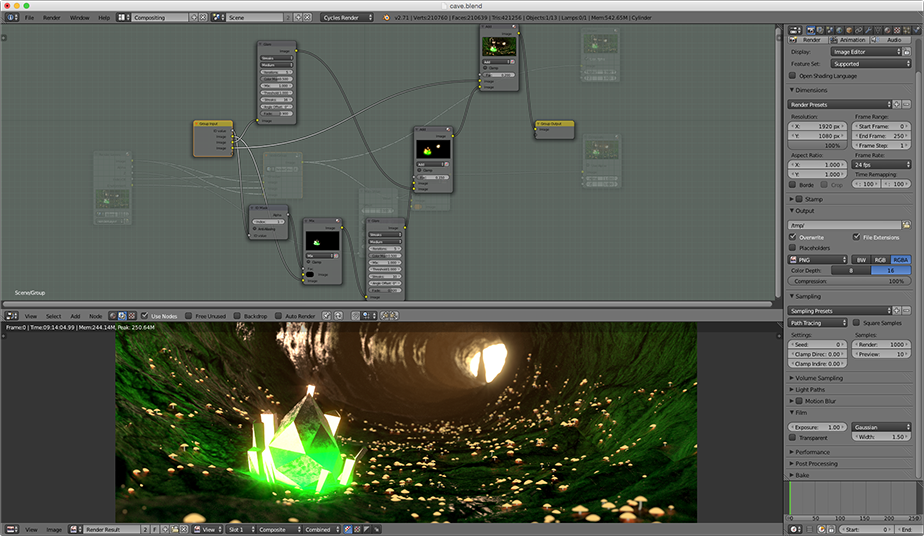
The final stage was to into the composite mode and using nodes create glow, lens flares and a fog from the entrance.